Hey guys!
So far I haven't posted this summer, but I have been busy! You can see all that I've doing at Sarensummer.blogspot.com. I'll start posting more here too :)
xoxo,
Caitlin
Thursday, August 7, 2014
Thursday, September 5, 2013
Infinity Lights

Is this light awesome or what! I was at the state fair this weekend, and ran into a both that sold these lights. You can find them at their website here. This is what it comes as:

When I bought it the man running the booth said that, (since I had never done this before,) would most likely get very frustrated. I'm not going to lie, it was difficult! So I called my friend +Sarah Ray, and asked her to come over and see what she could do. She seemed about as stumped as I did! Eventually I looked up a YouTube how-to, (there are many great ones) and built the beautiful light you see above.
Thanks for stopping by,
-Cait
Tuesday, August 27, 2013
Jewelry Boards
I just finished back-to-school shopping, and now have absolutely no space to keep all my new jewelry! This is a problem I can fix, so I went into my garage...I found 16 x 16 sized cork boards. These used to be in my kitchen, but after we remolded, they were no longer needed. I decided to simply cover them in paper and use push pins to hold up my jewelry.


Thanks for stopping by!
-Cait Thursday, August 15, 2013
Happy Birthday Sarah!
Let's give a shout out to +Sarah Ray ! Today is her birthday, and as a huge contribute to this blog our staff would just like to say thank you!
Sunday, August 11, 2013
Holiday Planner

I latest project was creating a holiday planner using various new products out of the Stampin' Up! catalog! I bought the Season of Style This and That Journal, and the accessories. The This and That Journal is a holiday planner very similar to a Smash book. The planner includes 5 sections.
- Calendars
- Cards
- Decor
- Gifts and Packaging
- Entertainment
Here is the front of mine:

(sorry it's sideways!)
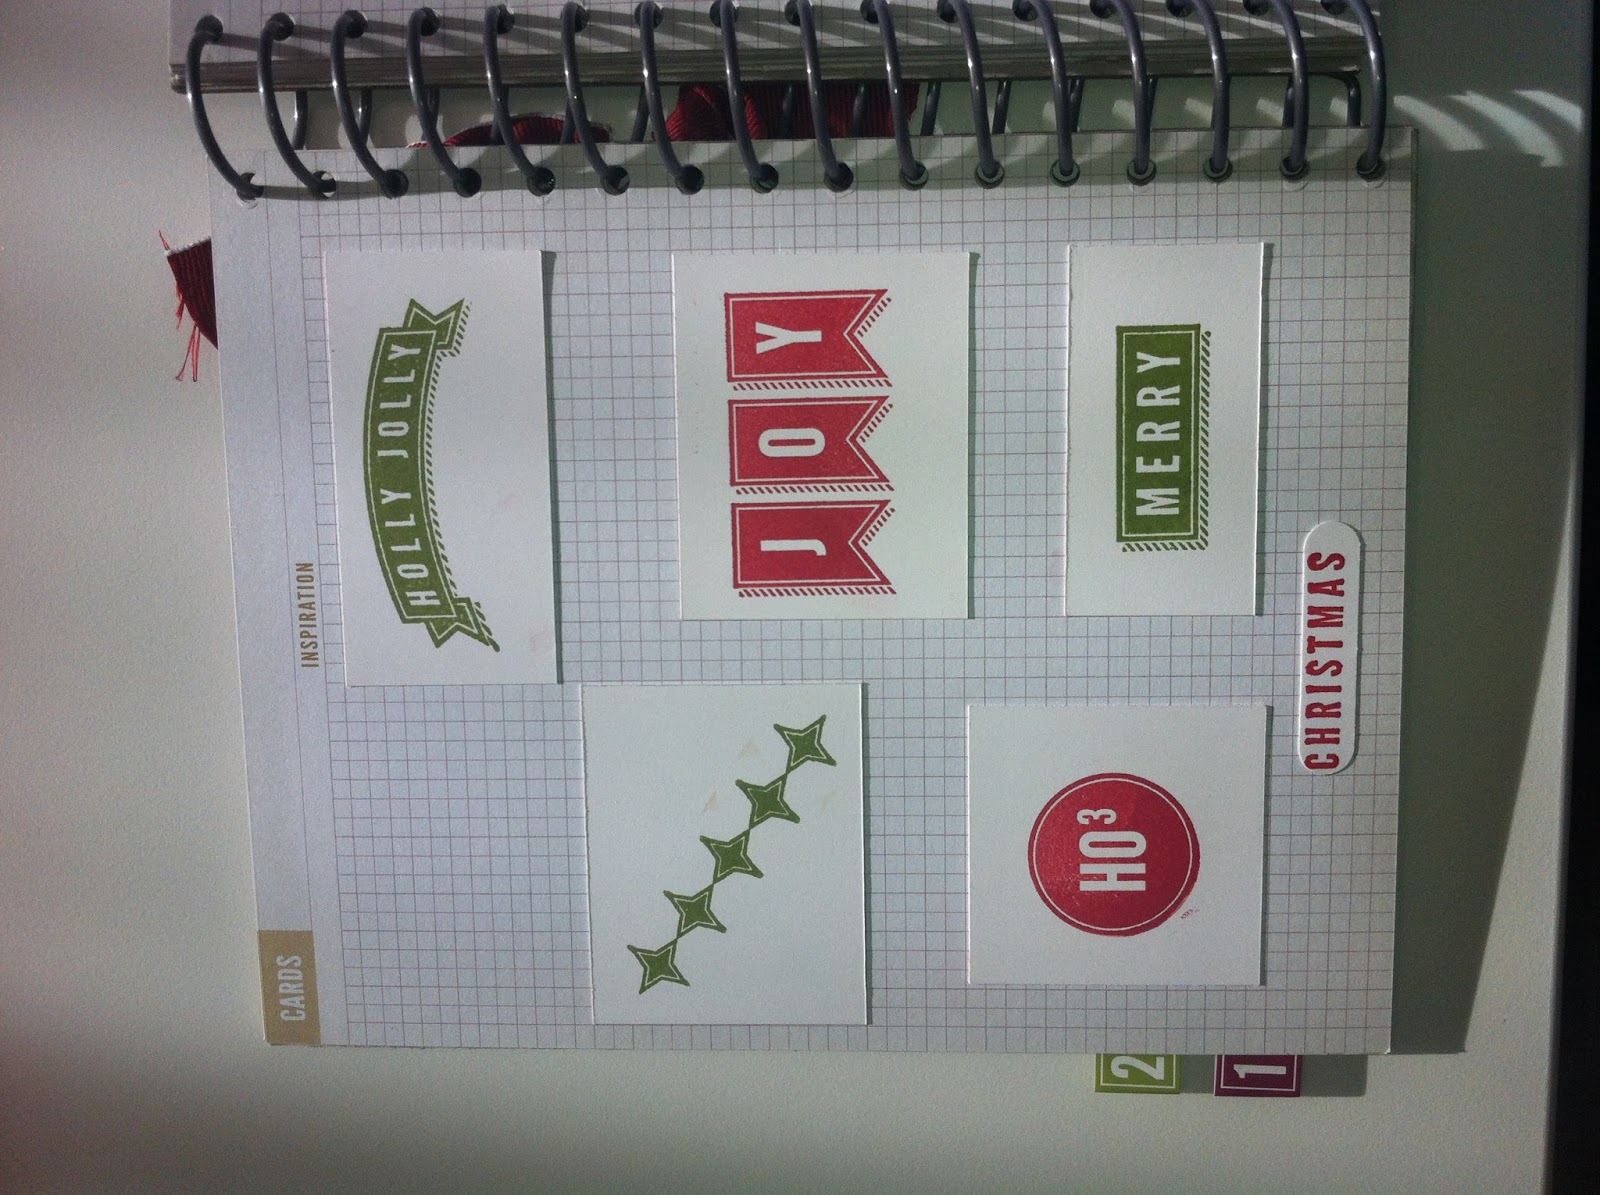
Then I moved onto part 3, where I sketched out banners and other things I wanted to decorate my house with. Part 4 is one of the hardest parts: budgeting for gifts! With neat pages, you can plan your: family gifts, gifts for friends, and other various people in your life you plan on giving gifts too! Last is the entertainment part. With a guest list, menu, to do list and shopping list you can plan 3 parties over the holidays. Keep in mind there is plain graph paper in the back if you would like to plan more parties!
This is list of supplies I used:

Regular Price: $5.50
Preferred Price: $4.95

Regular Price: $5.50
Preferred Price: $4.95

Regular Price: $12.17
Preferred Price:$10.95
I also used other various Stampin' Up! products, for the cover. If you would like to know please comment below! If you are interested in buying these products with the preferred pricing please contact Cherylin Peetz. She is my independent Stampin' Up! demonstrator, and can get you deals on the amazing products shown here. Also visit her blog for contact information and other amazing project ideas at Createwithcher.
-Cait
Friday, August 2, 2013
Caitlin's Egyptian Museum
Here is another Social Studies project that I was assigned this year. We were told that over spring break we must create a hand made display of some sort of Egyptian culture. As soon as we got the assignment I knew what I wanted to do. I wanted to create a museum to display more then one example of their culture. The finishing project looked a little like this. I say that because I took the pictures after I got my project back and it got a little wrecked.


This is the art wall, with paintings of an Ankh, the Eye of Horus, the Tyet, and the Feather of Truth. Next are the Canopic jars.
In this picture you can see three different Canopic jars. They were used for keeping different internal organs. They never separated a heart from the body though. The Egyptians believed that for a soul to return to the Underworld, they must have their heart with them.
This is my Sphinx! Isn't my little kitty cute? I almost left out the most important, (my favorite,) part. In the first picture there is a table. On the table is a crown. This is a Pharoh's Crown, and is covered in jewels, and are worth a fortune. A pharoh was burried with their crown and many other riches.
I hope this can inspire you for your own creation! Keep an eye out for many other creations to come. -Cait
"From This To That" Locker Week Day: 5
Welcome to finale "From This To That" Locker Week Day. This will be the last post in this series, but never fear, I will post more locker DIY's through out the year! To conclude I would like to show you how to create simple yet beautiful locker magnets. Here is what I started with:

These were just plain magnets that I thought would be dry erase, turns out they weren't! Here is some other supplies:
I Used:
- Magnets, (shown above.)
- Your favorite paper
- Jewels
- Butterfly punches, ( I used a Stampin' Up! punches.)
- Ribbon
For this tutorial, I am not going to step by step, since most of the design is self explanatory. Here is what I came up with:

Thank you so much for joining my locker "From This To That" week, keep checking back for more crafts, school project tips, and much much more!
-Cait
Subscribe to:
Posts (Atom)